[CS144 Winter 2025] GUIDANCE
Categories CS144 Winter 2025
Tags
环境
- MacBook Air M2, 2022, 24+512
- macOS 26.5.2 (25F84)
环境配置
安装 UTM
brew install --cask utm下载 Ubuntu 镜像
Ubuntu 24.04.4 (Noble Numbat):64-bit ARM (ARMv8/AArch64) server install image
创建虚拟机
- Create a New Virtual Machine - Virtualize - Linux
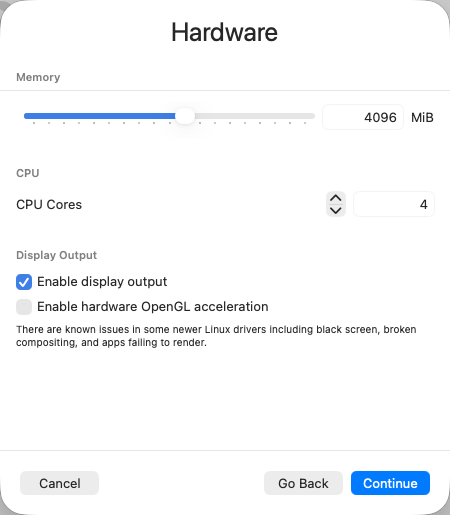
- Memery: 4096MiB; CPU Cores: 4 其他选项保持默认
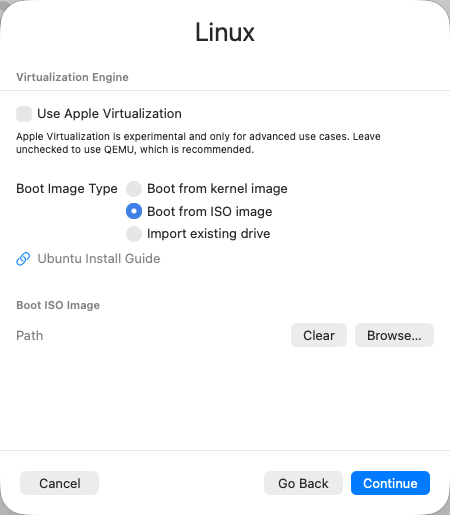
- Boot from ISO image - Browse… 选择下载的 Ubuntu 镜像
- Specify the size of the drive where data will be stored into: 20GiB
- Shared Directory: 不选
安装 Ubuntu
- 选择第一个 Ubuntu Server
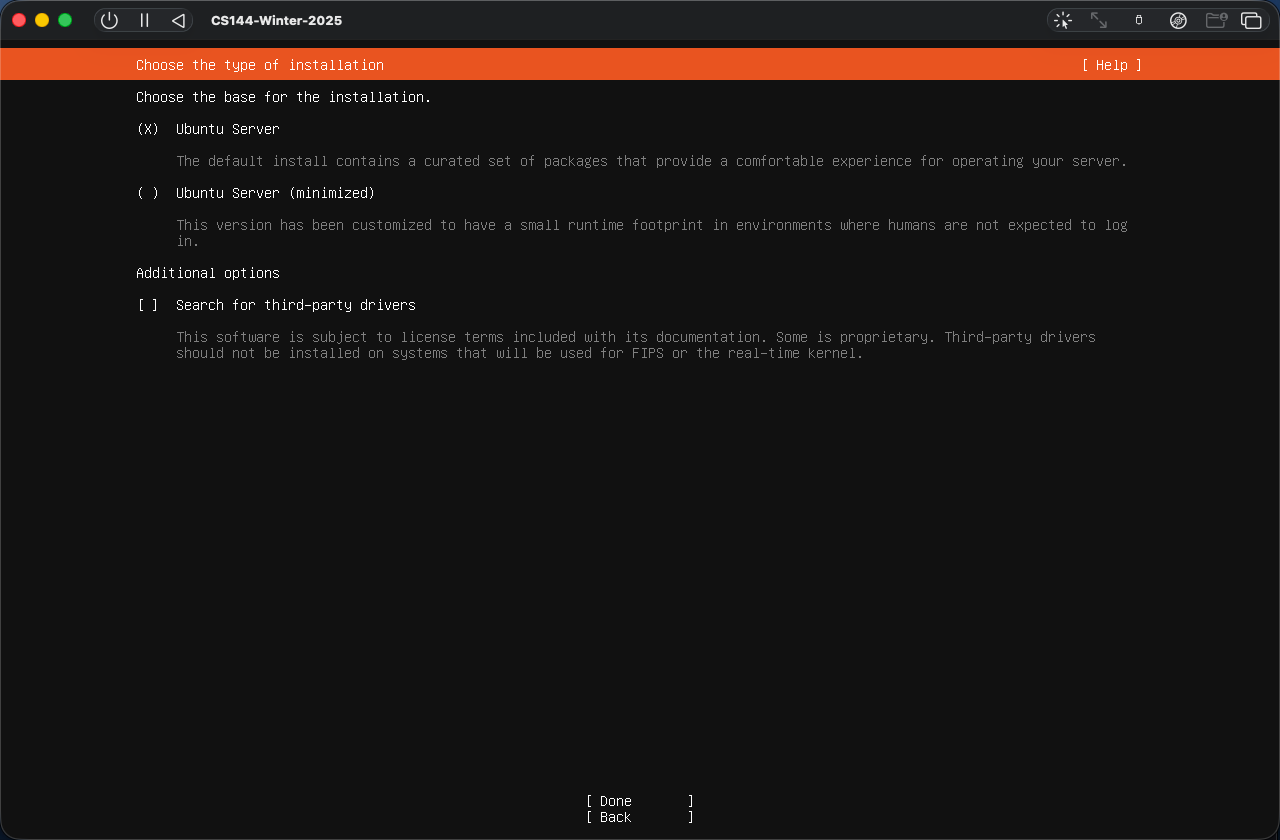
- 用户名为
eagle233,主机名为cs144-winter-2025 - 安装 OpenSSH,暂不导入 Key
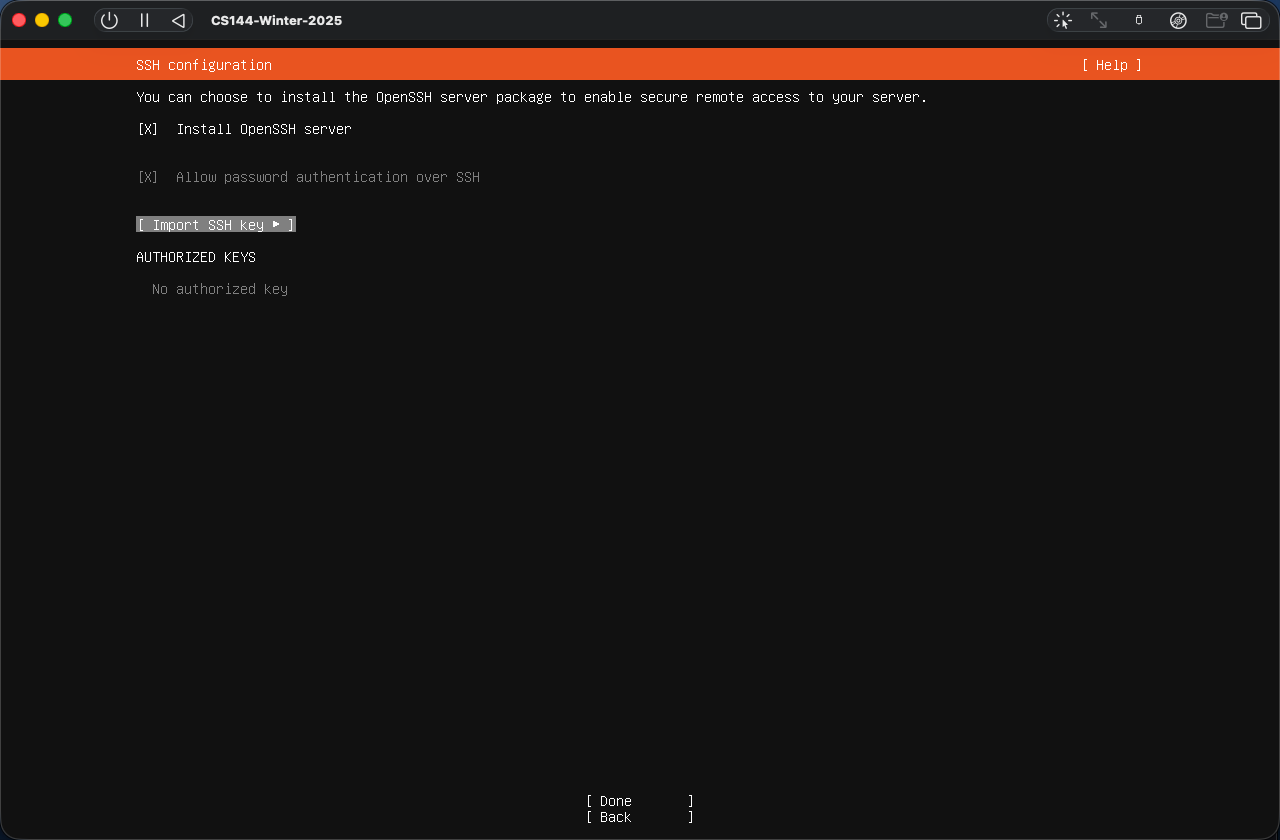
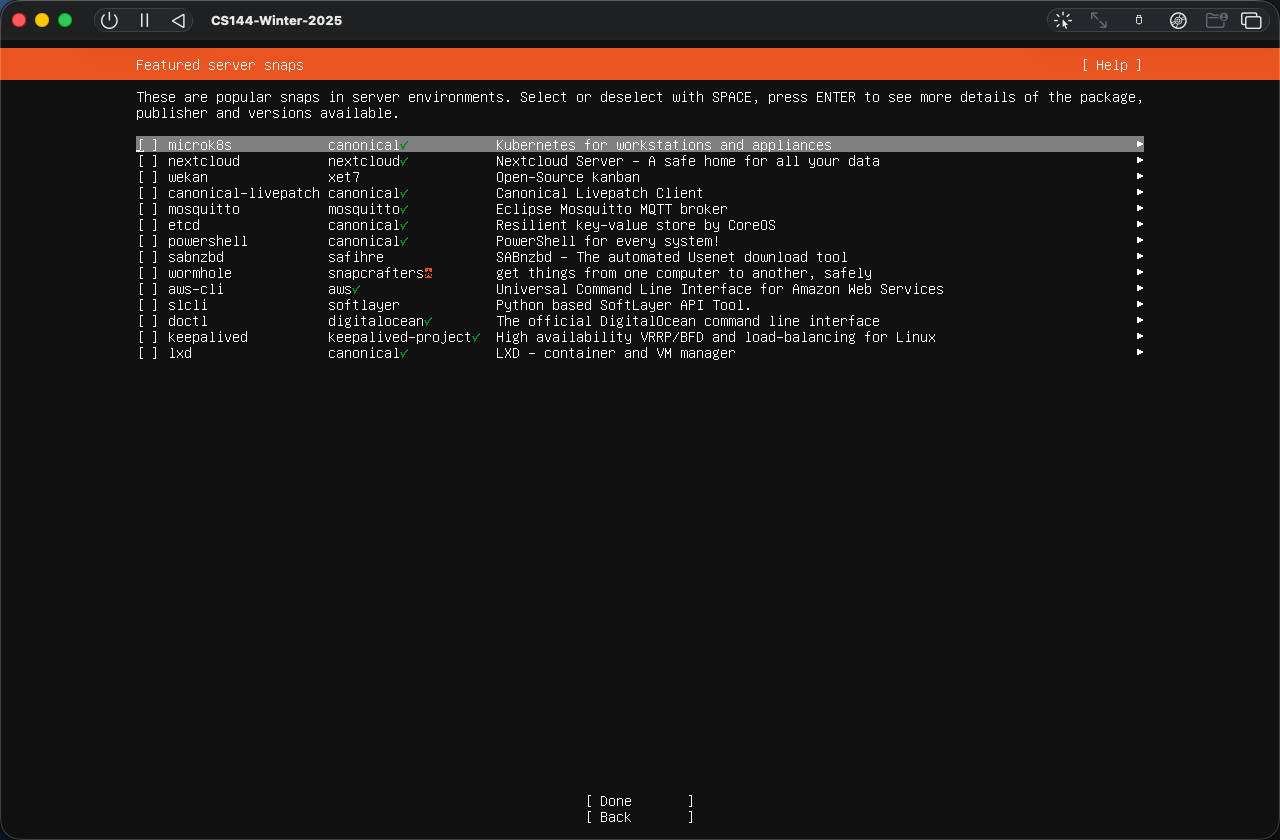
- 不安装额外的 snaps
配置 SSH
- 更新系统
sudo apt update
sudo apt full-upgrade -y
sudo reboot- 安装并启动 Avahi
sudo apt update
sudo apt install -y avahi-daemon
sudo systemctl enable --now avahi-daemon
确保 SSH 服务也已经启动
sudo systemctl enable --now ssh检查两个服务
systemctl is-active avahi-daemon
systemctl is-active ssh
两行都应输出
active- 在 Mac 终端生成密钥,直接回车两次(不创建密码)
ssh-keygen -t ed25519 \
  -f ~/.ssh/cs144_winter_2025 \
  -C "cs144-winter-2025"
复制公钥
pbcopy < ~/.ssh/cs144_winter_2025.pub- 登录 Ubuntu
ssh eagle233@cs144-winter-2025.local在 Ubuntu 中粘贴公钥保存
mkdir -p ~/.ssh
chmod 700 ~/.ssh
vim ~/.ssh/authorized_keys
设置权限
chmod 600 ~/.ssh/authorized_keys- 在 VS Code 编辑 SSH 配置:
Host cs144-winter-2025
    HostName cs144-winter-2025.local
    User eagle233
    IdentityFile ~/.ssh/cs144_winter_2025
    IdentitiesOnly yes
    ServerAliveInterval 30
校准时间
由于本地 Clash 无法正确转发 UDP 123 端口,NTP 请求收不到回复,因此需要手动校准时间
- 配置 Linux 使用 UTC 硬件时钟、上海时区和自动校时
sudo timedatectl set-local-rtc 0
sudo timedatectl set-timezone Asia/Shanghai
sudo timedatectl set-ntp true
sudo systemctl enable --now systemd-timesyncd
sudo systemctl restart systemd-timesyncd- 在 Mac 终端执行
ssh -t cs144-winter-2025 "sudo date -s @$(date +%s)"- 在 Ubuntu 安装 UTM 时间同步组件
sudo apt install -y qemu-guest-agent
sudo systemctl start qemu-guest-agent
检查:
systemctl is-active qemu-guest-agent应输出:
activeUTM 官方说明 QEMU Guest Agent 支持虚拟机时间同步,并可在暂停、恢复或 Mac 睡眠唤醒后重新同步时间。UTM Linux Guest 文档
安装依赖
sudo apt update

sudo apt install -y \
  git \
  cmake \
  gdb \
  build-essential \
  gcc-13 \
  g++-13 \
  clang \
  clang-tidy \
  clang-format \
  pkg-config \
  iproute2 \
  iputils-ping \
  iptables \
  tcpdump \
  tshark \
  traceroute \
  mtr-tiny \
  telnet \
  netcat-openbsd \
  dnsutils \
  openssh-server \
  avahi-daemon \
  libnss-mdns \
  ca-certificates \
  curl \
  wget \
  python3 \
  python3-venv \
  python3-pip \
  python3-numpy \
  python3-matplotlib \
  vim \
  nano \
  tmux \
  lsof \
  file \
  rsync \
  zip \
  unzip
安装 tshark 时如果出现:
Should non-superusers be able to capture packets?选择:
No后面需要抓包时需要 root 权限:
sudo tshark
sudo tcpdump
检查关键工具:
git --version
cmake --version
g++-13 --version
clang++ --version
gdb --version
clang-tidy --version
python3 --version
iptables --version
tshark --version
tcpdump --version
检查 TUN:
sudo modprobe tun
test -c /dev/net/tun && echo "/dev/net/tun OK"
ip tuntap help >/dev/null && echo "ip tuntap OK"
预期输出:
/dev/net/tun OK
ip tuntap OK
实验仓库准备
- 克隆已有的 CS144 Winter 2025 仓库。克隆时只获取 Starter 分支,不获取镜像作者的
main
git clone \
  --single-branch \
  --branch check1-startercode \
  https://github.com/tuxnode/minnow.git \
  cs144-winter-2025
进入仓库后,把第三方来源重命名,避免与自己的 GitHub 仓库混淆:
git remote rename origin winter2025-source添加其他 Starter 分支:
git remote set-branches --add winter2025-source check2-startercode
git remote set-branches --add winter2025-source check3-startercode
git remote set-branches --add winter2025-source check5-startercode
git remote set-branches --add winter2025-source check6-startercode
git remote set-branches --add winter2025-source check7-startercode
下载这些分支:
git fetch winter2025-source- Winter 2025 Checkpoint 0 的原始提交是
a63657bf74b25b57d68ad2b5682894ee4cc231a6。从这个未完成提交创建main:
git switch -c main a63657bf74b25b57d68ad2b5682894ee4cc231a6确认
git log -1 --oneline应当看到
a63657b CS144 Lab checkpoint 0- 创建永久保存的 Starter 分支。创建 Checkpoint 0 分支
git branch check0-startercode a63657bf74b25b57d68ad2b5682894ee4cc231a6check1-startercode 在第一次 clone 时已经创建了。把它校准到 Starter 来源:
git branch -f check1-startercode winter2025-source/check1-startercode创建其余 Starter 分支:
git branch check2-startercode winter2025-source/check2-startercode
git branch check3-startercode winter2025-source/check3-startercode
git branch check5-startercode winter2025-source/check5-startercode
git branch check6-startercode winter2025-source/check6-startercode
git branch check7-startercode winter2025-source/check7-startercode
查看结果:
git branch应当看到:
  check0-startercode
  check1-startercode
  check2-startercode
  check3-startercode
  check5-startercode
  check6-startercode
  check7-startercode
* main- 连接自己的 GitHub 仓库
git remote add origin git@github.com:Eagle233Fake/cs144-winter-2025.git检查远程仓库:
git remote -v应该同时看到:
origin              git@github.com:Eagle233Fake/cs144-winter-2025.git
winter2025-source https://github.com/tuxnode/minnow.git- 配置 SSH 密钥
ssh-keygen -t ed25519 -C "Eagle233Fake CS144 Winter 2025 Ubuntu VM"复制命令之后的内容
cat ~/.ssh/id_ed25519.pub打开GitHub SSH Keys 设置,点击 New SSH key
填写 Key type: Authentication Key;Key: 粘贴公钥
测试连接
ssh -T git@github.com成功后应看到:
Hi Eagle233Fake! You've successfully authenticated, but GitHub does not provide shell access.- 推送
main
git push -u origin main然后推送所有纯 Starter 分支:
git push origin \
  check0-startercode \
  check1-startercode \
  check2-startercode \
  check3-startercode \
  check5-startercode \
  check6-startercode \
check7-startercode- 移除第三方来源:
git remote remove winter2025-source检查:
git remote -v现在只能看到自己的仓库:
origin git@github.com:Eagle233Fake/cs144-winter-2025.git最后确认位于作业分支:
git switch main
git status
学习资料
- CS144 Winter 2025 官方网站源码快照
- Winter 2025 官方 Lab FAQ
- Winter 2025 官方课程说明
- Winter 2025 官方 handouts 目录
- Winter 2025 官方往年考试目录
实验手册
- Checkpoint 0:Networking warmup / ByteStream
- Checkpoint 1:Reassembler
- Checkpoint 2:TCP Receiver
- Checkpoint 3:TCP Sender
- Checkpoint 4:Measuring the real world
- Checkpoint 5:Network Interface / ARP
- Checkpoint 6:IP Router
- Checkpoint 7:Putting it all together
参考资料
- Alex’s Space - CS144 之后可能会参考这个教程的实现
- tuxnode / minnow 从这个仓库 fork 而来
- csdiy - Stanford CS144: Computer Network
Page views: Loading... · Visitors: Loading...
Except where otherwise noted, original content on this site is dedicated to the public domain under CC0 1.0.
Powered by Hexo & Theme mdsuper
沪ICP备2026040813号